Why I Got the 22 Gallon Tank
After my 75-gallon Marineland reef tank was up and running for about a year, I found myself ready for a second tank for a couple of reasons. First, I had the itch to build another tank and wanted another project to work on. Second, the 75-gallon tank was very stable and many of the corals were very large requiring frequent frag sessions to keep them in check.
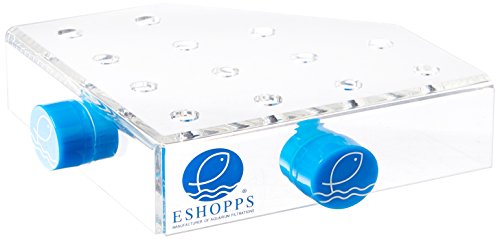
I had an eShopps acrylic frag holder on the back of the tank and many frag pieces in the sand. Having frags littered throughout the tank did not look the greatest and took away from the display tank. I brought many frags to my local fish shop, some for credit and some for donation. I wanted to set up a frag tank to grow out frags from the 75-gallon and either sell them to fellow reefers or trade for supplies and other coral.
I’ve had various Clownfish throughout my time in the hobby and prior to the frag tank had never had any luck having them host in an Anemones. I’ve always loved this symbiotic relationship and wanted to create it in a reef tank. For this tank, I wanted to pull double duty and have a Clownfish Anemone pair and frag holding capability. For the set up I planned on having two acrylic frag racks on the left and right sides of the tank with a piece of live rock in the middle of the tank.
How I Acquired 22 Gallon Tank
This tank was another build where I pieced the system together myself using some of the equipment I had on hand from both my original 55-gallon origin tank and pieces that upgraded on the 75-gallon tank. For all the other equipment I researched and purchased equipment from various sources.
Tank, Stand, Drain, and Covers
For the tank, I went with Marine Depot’s Aquamaxx 22 gallon long aquarium. The aquarium was on sale and I also had a 10% discount code that made the tank a good discounted buy. The tank’s dimensions are 35.5″ long x 11.9″ wide x 11.9″ high. The tank is 8mm glass and is made with ultra-low iron for ultra clarity. The tank was very well packaged, very well made, and beautiful. It is simply a four-walled water box that is ultra-clear on all sides. I highly recommend these tanks. The tank was so nice and clear I didn’t want to take away from the tank’s aesthetics by painting the back so I left the back unpainted. Having the back painted would probably reduce light from leaving the tank and pop the coral color more, but the tank’s clarity and simplicity help make up for that.
I did have a heck of a time finding a stand for this tank. The dimensions are different from average tank sizes and I wanted an open under the cabinet to maximize space for equipment and the sump. I considered random cabinets at furniture stores and retail stores and couldn’t find anything that fit my wants. One day while on vacation I went into a Petco to have a look around and saw a black Aquatic Fundamentals stand that was built for their 30, 38, or 45-gallon aquariums. The dimensions nearly exactly matched the dimensions of the Aquamaxx tank. The Petco had one built on display but didn’t have any in stock. The manager agreed to sell me the display stand for 20% off, another discount score for the build. The stand is a standard big-box pet store black stand and is open on the inside of the cabinet. It is a bit tight for the equipment, but everything fit just fine in the end.

The Aquamaxx 22 gallon long was not drilled and I planned on adding a sump and drilled overflow. I really liked the look and build quality of Eshoppes Eclipse overflow box. They use a mix of clear and black acrylic with a red standpipe. My local fish store had one installed in-store and it looked really nice and was nearly silenced when draining. I went with the small version for this build. The overflow came with everything needed for install including gaskets, a template, a diamond-coated drill, and even a cover for the top of the overflow box. Drilling was a breeze after gaining initial experience drilling the 75-gallon tank. I did notice the difference in glass thickness as this tank took much longer to drill with its thicker glass. I drilled a hole for the overflow and one for the return on the opposite side of the tank.

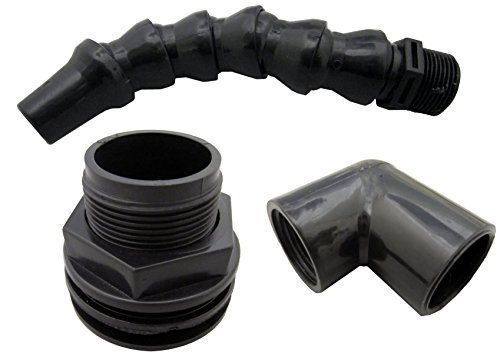
I used a bulkhead and Loc-Line for the return. I hard plumbed both the drain and the return. The drain in the overflow is set up Herbie drain style and I used gate valves on both the drain and return lines. When dialed in the tank runs nearly silent.
Currently, the tank is without a lid. I may consider adding a DIY screen lid in the future.
Substrate, Live Rock, and Frag Racks
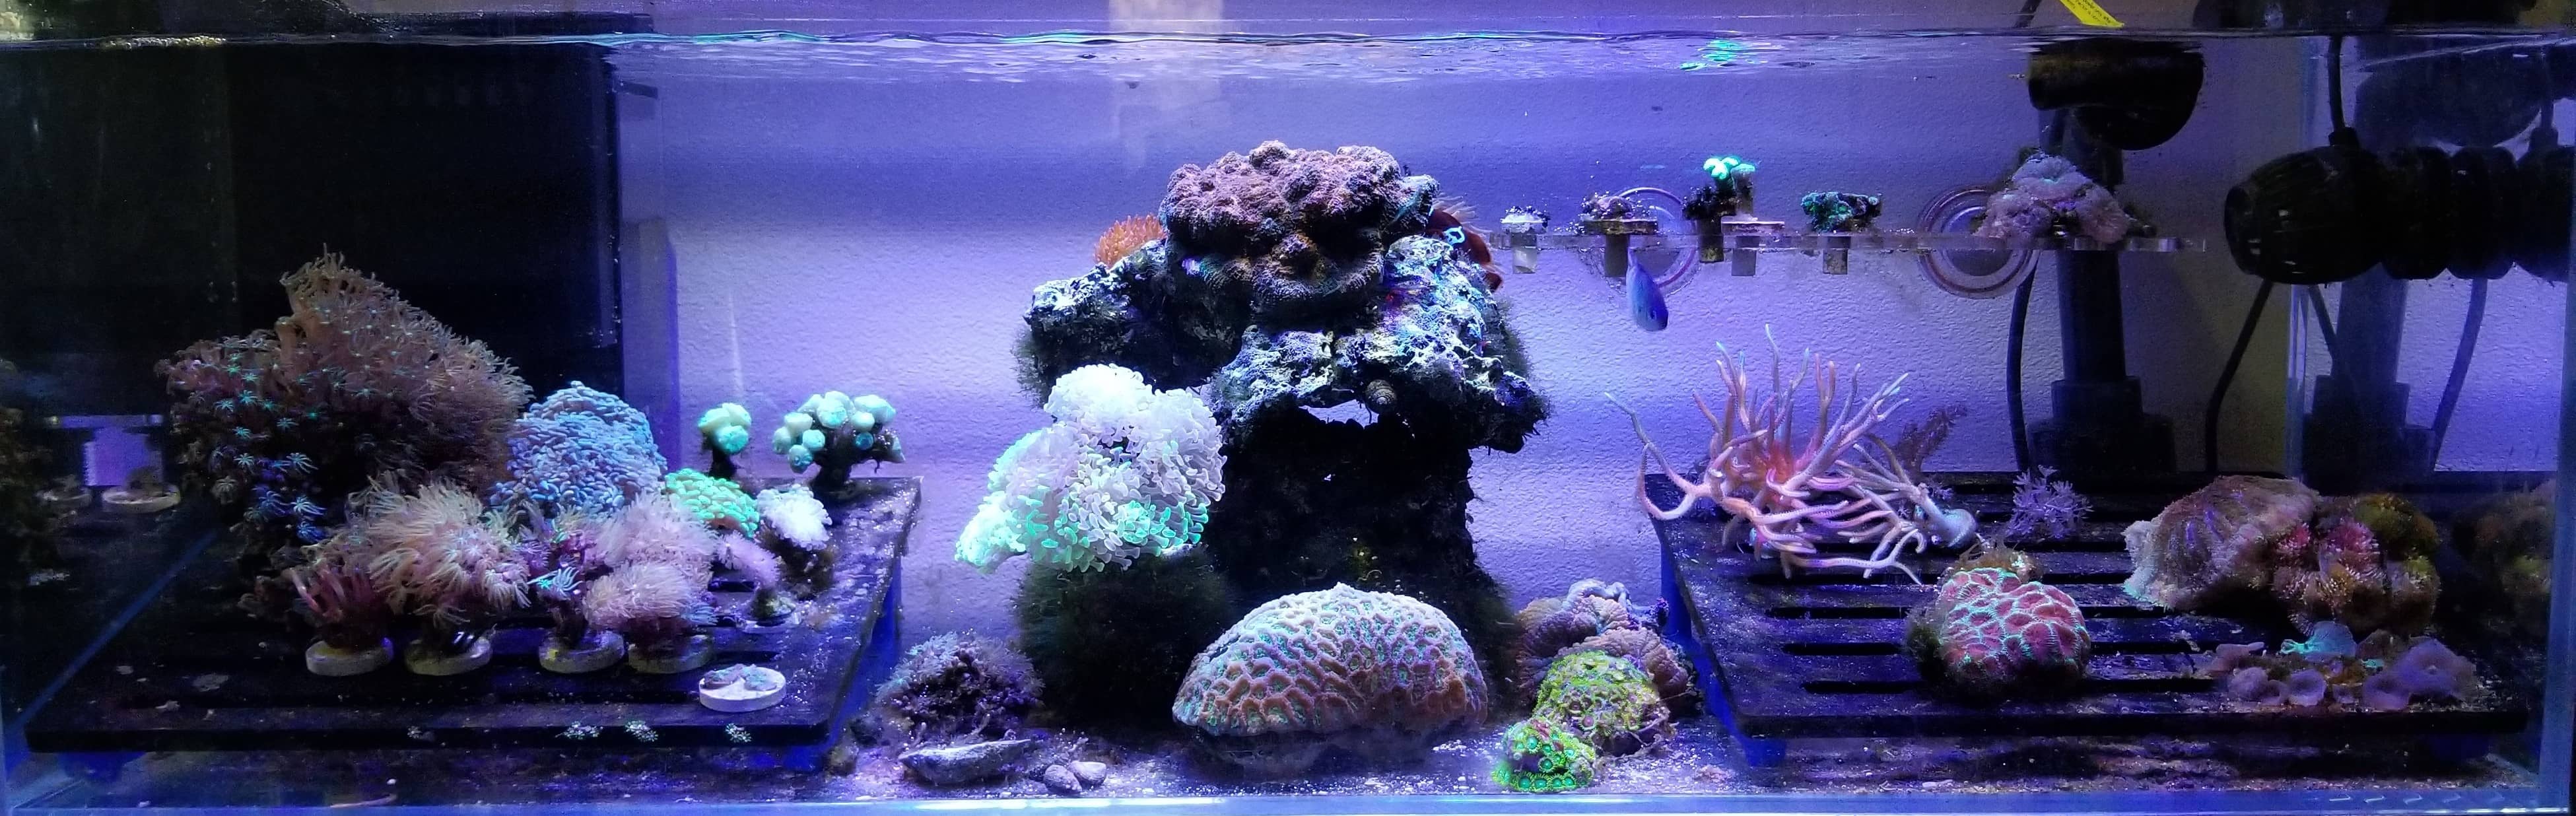
As the tank was primarily built for frag holding and grow-out, I did not include a substrate in the build and opted for a bare bottom tank. I had some leftover dry rock from the 75-gallon build and 55-gallon tear down that I used for this tank. I took two pieces of rock and carved out a swim through-hole and epoxied the rock together. I was not in a rush with the tank and cured the live rock in the tank. I placed the rock column in the middle of the tank and would flank the left and right sides with frag racks.
For frag racks, I went with a company called Bashsea. I purchased two 11 x 11 Bashsea Mad Frag Racks off of eBay. These racks are nice quality cut acrylic and the black and blue colors matched nicely with the Eshopps components in the system. The racks fit perfectly to the left and right of the live rock and gave just enough room for the live rock column.

Live Stock and Corals
The first fish I put in the tank was Blue-green Chromis. I was hanging out to find the right anemone and clownfish to add to the tank and wanted to have a fish in the tank to liven it up so I went with the hardy Blue-green Chromis. When I acquired the newer 210-gallon aquarium there is a single Blue-green Chromis in the tank and in the future, I plan on moving the Chromis in the frag tank to the 210 and adding a couple more to have a small school of Chromis in the 210-gallon tank.
The frag tank has been a wonderful addition, giving me the capability to keep the coral colonies in the 75 in check from overgrowing. I have regular frag sessions where I trim the coral in the 75-gallon tank and move them into the frag system. The corals grow very well in the frag system and I’ve sold, traded, and donated many pieces to others. I have a continuous supply of Green Star Polyps, Green Birds Nest, Pipe Organ, and other corals from the 75-gallon tank.
About a year into having the frag tank up and running I purchased an established 210-gallon system that had a bit of coral in need of rehab. I moved most of the coral from the 210 into the frag system for rehab. Once the 210 is stabilized and corals are healthy I will move some of the pieces back into the 210.
The first Anemone I put in the tank was a Green Bubble Tip Anemone that I got from my local fish store. The Green Bubble Tip Anenome has been doing great in the tank. When I purchased the 210-gallon aquarium there were a couple of small Rose Bubble Anemones in the system. I left one in the 210 and moved the other into the frag system. The Rose Bubble Anemone has been doing well in the frag system and is about three times the size of the Anemone left in the 210. Both of the Anemones have taken their spots on the live rock in the middle of the aquarium.
I wanted to find the right Clownfish to add to the tank and have always liked black and white, maroon, all gold, and Lighting Maroon Clownfish. On a chance trip to another city on vacation, I visited a Petco and came across a decently priced Maroon Lighting Clownfish. With the wife’s approval, we purchased the Lightning Clownfish and it would be the first Clownfish in the tank. We placed the fish in the tank and initially it did not get along well with the existing Blue-green Chromis. After a couple of days of posturing and nipping at each other, they settled down and have their own territories in the tank. A couple more days later the Clownfish began to host in the Anenomes. The fish actually splits time between both Anenomes throughout the day. This was the first time across multiple Clownfish that we’ve had success with a Clownfish hosting in an Anenome. It was worth the wait as it is quite comical seeing the Clownfish smash its body and face into the Anenonmes constantly. The fish also likes to feed the Anenomes, it grabs food from the water column during feedings and drops it into the Anemones. In the future, I will try adding a second Clownfish with the hopes that they pair up.
Reef Tank Gear in the 22-gallon Aquamaxx Tank
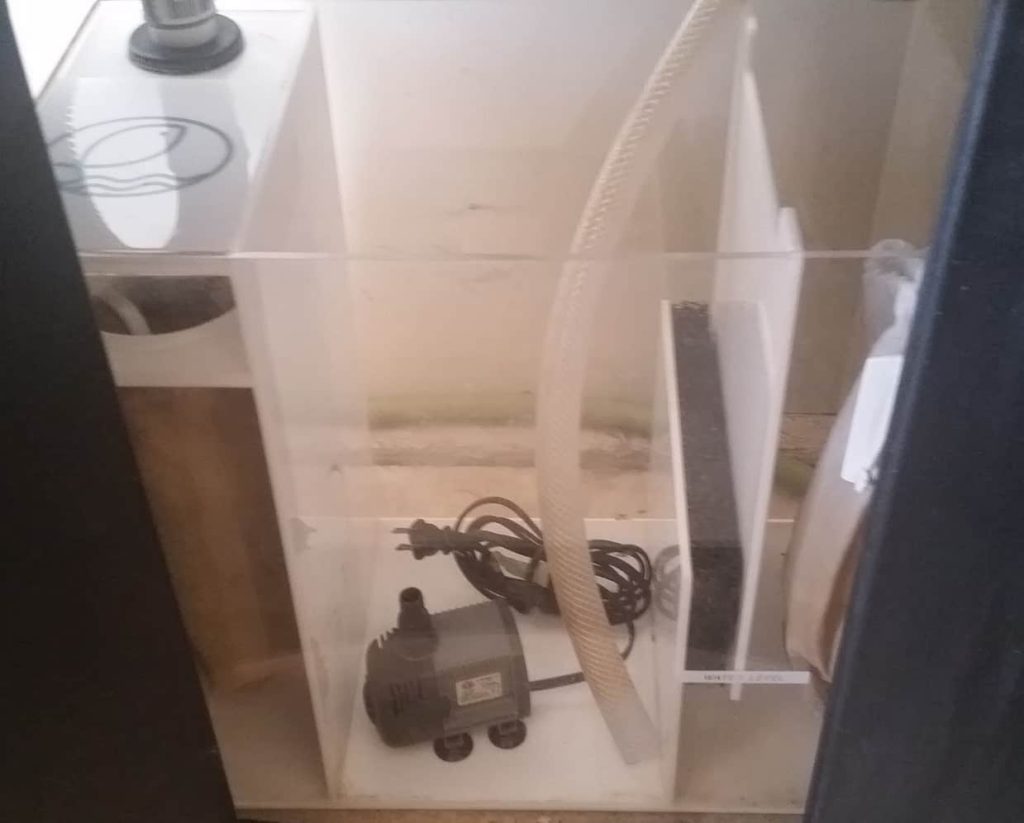
Sump – For the sump, I used the first sump that I ever had that was originally on my 55-gallon origin tank. The sump is an Eshopps RS-75 third-generation reef sump. This is a great little sump that is well constructed, simple, and efficient. The sump has a drain, a single, filter sock, a skimming section, and a return. I’ve had zero issues with this sump during the time it was on the 55-gallon origin tank and while on the frag tank. The only thing it doesn’t have is a refugium compartment, which I didn’t feel was a must on a light bio-load frag system.
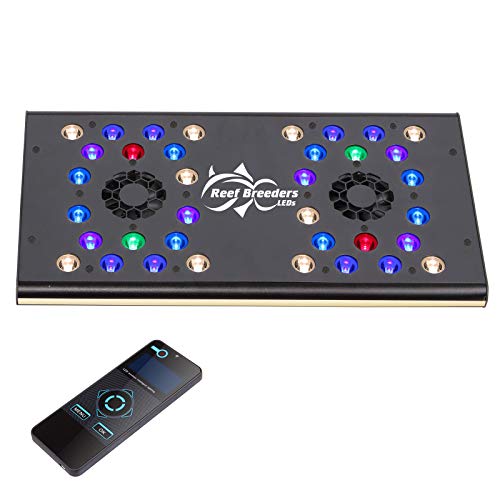
Lighting- For lighting, I deployed a budget reefing strategy and found a nice option on my local Craigslist. There was a guy looking to sell a complete setup tank with a 24” Reefbreeder Photon V2+ led light. I was able to score just the light for about ½ off the new retail price. The light looks nice and has programming capability. The light works great and the only issue I’ve had is that it is very strong and I run the channels very low at less than 25% power most of the time. There is no app to easily program this light and you have to program the light on the remote controller with a display. This works but is not a quick and easy thing to adjust on the fly.
Heater- The Eshopps RS-75 sump has little real estate and I generally try to keep as much equipment out of the display as possible so I did need to find a heater with a small footprint. For this build, I went with a 100 watt Cobalt Neo Therm heater. The heater is well made and very slim in its design. The heater fits perfectly in the skimmer section of the sump. I haven’t had any issues with the heater thus far.

Chemical Filtration- This is the one tank I don’t feel the need to run GFO on. I do run a small amount of carbon in the sump though. I simply use a small mesh bag with about a cup of carbon in it placed in the sump where water will flow through it. The small amount of carbon helps polish the water and keeps it clearer longer.

Skimmer- For the skimmer, I actually upgraded the 75-gallon tank and moved the old skimmer to the frag system. The skimmer is an Eshopps Snow Cone S 120 Protein Skimmer. This was my first in-sump skimmer and I’ve been super happy with its performance over the years. This skimmer has been a reliable workhorse. I’ve operated the skimmer for over 4 years and it continues to pull an excellent amount of skimmate with little maintenance. I do a full clean of the skimmer about every quarter. The skimmer is driven by a highly reliable Sicce pump. The only issue with the skimmer is the ability to adjust the water level inside the skimmer. You adjust it by turning a grey standpipe to the left or right. There isn’t a good way to grip the pipe and you can’t really see what adjustment you’re making to the sump if you don’t have a clear view of the hole in the pipe. I drilled a small hole in the top of the pipe and slid an Allen Wrench in it so that I had a better grip on the pipe to adjust it and it hasn’t been an issue since.
ATO- For an ato I’m using a Hydor Smart ATO system. This was another piece of equipment that came over from my 55-gallon origin tank. This system is probably too “smart” for its own good lol. I found this system to be somewhat temperamental and a bit of a pain to dial in initially. First, after about a year in service, the unit just stopped working. The alarm would constantly be triggered and it wouldn’t stop, no matter the water level it was sensing. Hydor did right and replaced the unit for me without charge or issue. Second, the sensors are probably too close to each other, and very small fluctuations in the water level cause it to go off. The sensor works off of temperature and has three prongs, a minimum level, a fill level, and a maximum level. The alarm sounds if it senses a temperature change at the minimum level or maximum level. Third, there isn’t a way to silence the sensor without opening it up. After a series of trial and error, I’ve been able to get consistent performance out of the unit. I’m happy with the unit now, but I would probably consider other options out on the market.

For the ato pump, I’m using a Tom’s Aqua Lifter Pump. This was the same ato pump used on the 55-gallon origin tank. This little pump works well and pushes just enough water to fill the sump to the correct water level within the maximum time that the Hydor ATO allows. I haven’t had any issues with the pump and it works well. For an ato container, I use a simple $3 plaster water jug with a hole drilled in the cap for airline tubing. The container holds about 3 gallons of water and makes it through about a week before needing to be filled.
ReefSumper Gear Review: TOM Aqua Lifter Pump
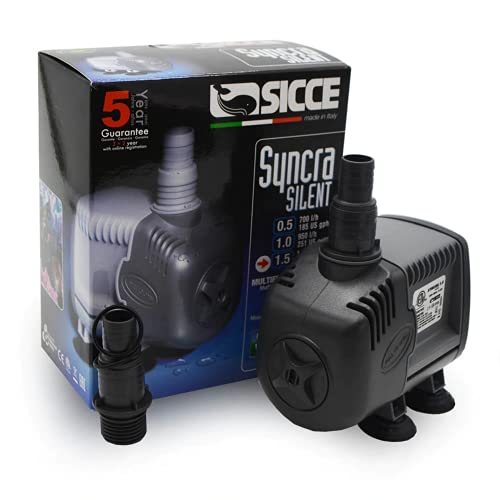
Return Pump- For the return pump, I’m using a Sicce 1.5 Syncra Silent. This was another holdover piece of equipment from my 55-gallon origin tank. Another simple reliable pump from Sicce. The pump has lasted years with only quarterly cleaning maintenance conducted. The pump also lives up to its name and is very quiet.
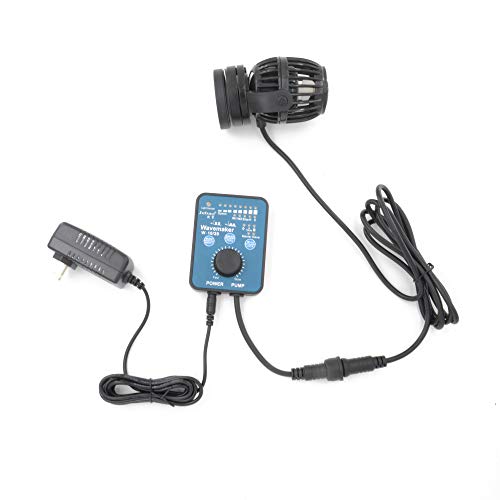
Power Heads- For a powerhead, I’m using a small Jebao powerhead. The powerhead in conjunction with the return gives the frag tank just enough flow.
Maintenance
I do a small 2.5–5-gallon water change on the tank every week. During the weekly water change, I also clean the glass and switch out the filter sock. Other maintenance happens as needed with the protein skimmer, powerhead, return pump, and sump. One maintenance task that is not very fun is trying to clean detritus on the bottom of the tank. There is a space between each frag rack and the bottom of the tank that collects a lot of detritus and is very difficult to get to without removing the frag racks from the tank. For this chore, I try to move all the corals to one side of the tank remove the rack and siphon the bottom repeating the process on the other side of the rack.
How to Clean Your Reef Aquarium Sump, a Practical Schedule
Future Plans for the 22 Gallon Frag Clownfish Tank
The system is functioning very well right now and is doing its job of holding and growing out coral. I’m not currently planning on doing much with this tank. It is not currently hooked up to an aquarium controller and I’m a little hesitant about the potential for a heater malfunction so I may add some sort of temperature monitoring/alert system in the future. I plan on adding a second Clownfish to the tank and moving over the Blue-green Chromis to the 210-gallon tank.
Having the 75, 22, and 210 tanks as separate systems do pose a challenge for continuous upkeep and maintenance. I change the water in the 22-gallon every week and feed the fish every night. A future consideration might be to plumb this tank or a larger frag tank into the 210-gallon system to cut down on maintenance a bit and expand holding capacity. I like the size and coral growth capability that 50-gallon breeder-style tanks might offer.